This cake is wonderfully moist, fruity and spicy with a little bit of caramelized crunch around the rim. It is one of my favorite ways to use the Hachiya persimmons that grow in our yard.
Ingredients
2 sticks (8 ounces, 225 grams) butter, softened
1/2 cup (100 grams) packed dark brown sugar (I use muscovado.)
5 Tablespoons wildflower honey
2 Tablespoons raw pistachio nuts, unsalted
2 medium-sized very-ripe Hachiya persimmons
2 Tablespoons minced crystallized ginger
1 1/4 cups (250 grams) sugar
3 large eggs
1 teaspoon vanilla extract
2 cups (256 grams) all-purpose flour
1 1/2 teaspoons baking powder
1 teaspoon ground cinnamon
1/4 teaspoon freshly-grated nutmeg
1/4 teaspoon salt
3/4 cup (180 ml) milk
2 Tablespoons roasted pistachio nuts, for garnish (optional)
You will also need:
1 large cast iron skillet
Large spoon
Large mixing bowl
1 mixer
Rubber spatula
Instructions
Preheat oven to 350 degrees Fahrenheit (180 degrees Celcius).
In a large cast iron skillet, melt one-half of the butter over medium heat. Add the brown sugar and honey and stir well. Add the raw pistachio nuts and let cook for about two minutes, stirring well. Remove the skillet from the heat. Slice the persimmons cross-wise into 1/4″ rounds. Place the persimmon rounds in the pan in a circular pattern. Sprinkle the chopped crystallized ginger on top.
In a large mixing bowl, beat the remaining butter for about 2 minutes until it is creamy in texture. Add the sugar and mix well to combine. Add the eggs and vanilla and mix well.
Add the dry ingredients to the mixing bowl – the flour, baking powder, cinnamon, nutmeg and salt – and beat just until combined. Add the milk and mix well, scraping the sides of the bowl, as needed, with a rubber spatula.
Pour the batter over the persimmons in the cast iron skillet. Bake for 30-35 minutes until the middle springs back when lightly pressed.
Remove from the oven and let cook for about 15 minutes. Run a knife around the edge of the skillet to loosen the sides of the cake. Invert onto a cake plate and garnish with roasted pistachios, if desired. Let cool. Cover to store.
Serves 10-12.

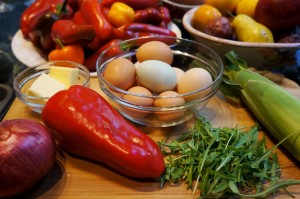
These mini frittatas use the season’s last corn, along with roasted peppers and onions. Of course, you can use your own combination of ingredients. Sauteed mushrooms, herbs, potatoes, roasted butternut squash – whatever you’d like. The recipe is very simple to make. You can even mix it all together the night before and store it in the refrigerator overnight. Then heat up the muffin pan and cook the frittatas in the morning. Leftovers can be refrigerated and re-heated with good results.
Ingredients
1 large red pepper
1 medium-sized red onion
1 medium-sized ear of corn
4 Tablespoons butter, divided into 2 Tablespoons each
1/4 cup arugula or swiss chard
8 eggs
1/3 cup half-and-half or cream
3/4 teaspoon fine sea salt
Freshly-ground pepper, to taste
1 cup Parmigiano Reggiano cheese
You will also need:
1 medium skillet
Wooden spoon
1 medium mixing bowl
Whisk or large spoon for mixing
Chef’s knife
Paring knife
Muffin tin that makes 12 standard-size muffins
Pastry brush
1/3 measuring cup
Oven mitts
Instructions
Preheat the oven to 375 degrees Fahrenheit/190 degrees Celsius.
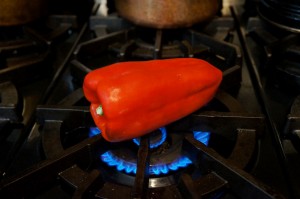
Roast the red pepper. Place in a paper bag to sweat.
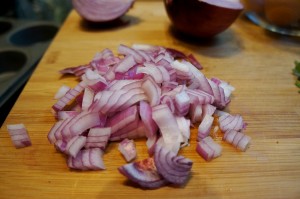
Chop the onion to yield 1/2 cup.
Shuck the corn and cut off the kernels.
Heat 2 Tablespoons of butter in a skillet over medium heat. Add the onions and corn and saute for about 15 minutes until softened. Turn off the heat and let cool to room temperature.
When the pepper has cooled, slide off the charred skin, remove the seeds and chop the pepper coarsely.
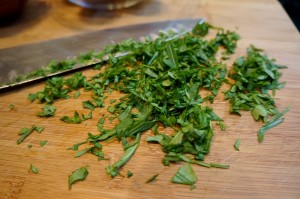
Chop the arugula or chard.
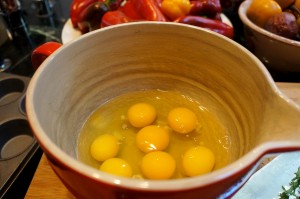
Break the eggs into a medium-sized bowl.
Add the half-and-half or cream and beat well with a whisk to combine.
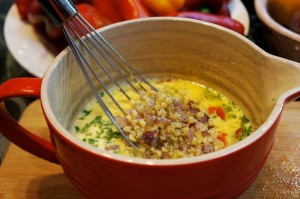
Add the chopped arugula, the chopped pepper and the onions and corn. Add the sea salt and pepper.
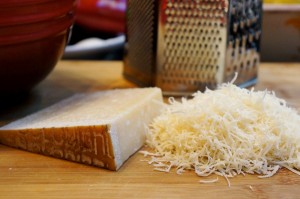
Grate the Parmigiano Reggiano and add that to the eggs.
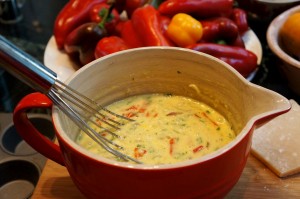
Mix well to combine.
Melt the remaining 2 Tablespoons of butter. Using a brush, butter the insides of the muffin cups.
Place the muffin tin into the hot oven for about two minutes until you hear the butter start to sizzle. Remove the muffin pan from the oven and position near the egg mixture.
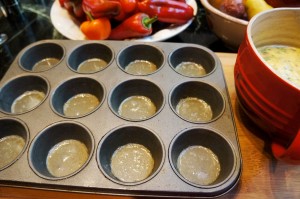
Add a scant 1/3 cup of the egg mixture to each of the muffin cups.
Return to the oven and bake for about 15 minutes until the frittatas are firm in the center and slightly browned. Remove from the oven and allow to cool slightly.
As the frittatas cool, their centers will deflate slightly.
Serve immediately.
Makes 12 mini frittatas and serves 4-6 people.
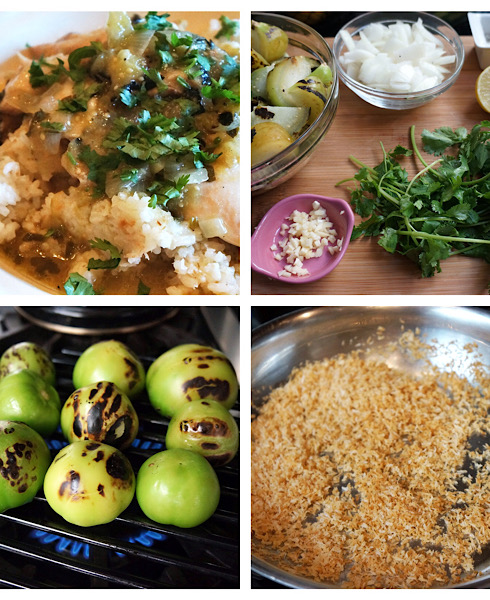
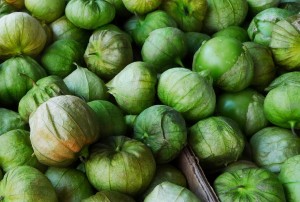
Tomatillos are in season right now in Northern California. I am finding them in our local farmers markets.
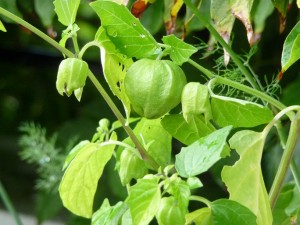
Tomatillos are known for their tart flavor and green color. They lend themselves especially well to sauces and to pairings with meats. They are a member of the nightshade family and have an inedible husk, similar to the caped gooseberry.
The husk will help in determining which tomatillos to select in the market. You want to look for green husks and firm fruit.
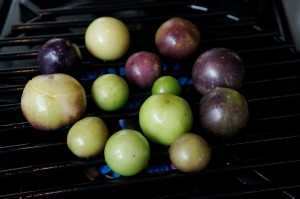
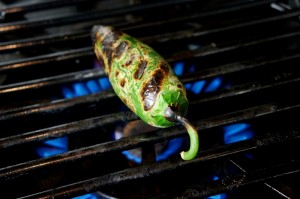
The fruit should be either green or purple. Before using the tomaillos in a dish, remove the husk and rinse the tomatillos to remove the stick residue underneath. I like to char the tomatillos to bring out their flavor.
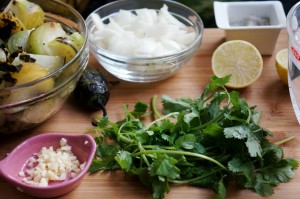
This is one of our favorite recipes and combines the flavors of the tomatillos with chicken, onions, garlic, cilantro and lime. A charred jalapeno pepper is added for a little heat. I typically serve this dish over rice with toasted coconut.
Ingredients
1 1/2 pounds fresh tomatillos
1 small jalapeno pepper
4-6 pieces of chicken (I use a mixture of dark and light. You can keep the skin on or remove it.)
Gray sea salt and freshly-ground pepper
1/2 cup plain all-purpose flour
1/4 cup olive oil
1 cup onions, peeled and chopped
1 clove garlic, peeled and chopped
1 handful cilantro, chopped, plus more for garnish
2 cups water or chicken stock
1 Tablespoon fresh lime juice
For the rice:
3 cups water
1 teaspoon sea salt
1 1/2 cup white rice (I prefer Charleston Gold rice.)
1 1/2 Tablespoon unsalted butter
1/4 cup unsweetened, organic coconut flakes
You will also need:
Gas stove with rack or grill to char tomatillos
Cutting board
Chef’s knife
Pan for dredging chicken
Large skillet or dutch oven with lid
Large spoon
Medium saucepan with lid
Fork
Small skillet
Instructions
Remove the husks from the tomatillos and rinse them to remove the sticky residue. Dry them and char them lightly on the stovetop or on a grill.
When the tomatillos are charred, remove them from the heat and cut them into quarters or eighths.
Char the jalapeno pepper, as well.
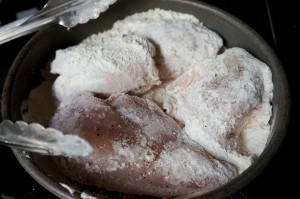
Salt and pepper the chicken liberally and dredge each piece in flour to coat.
Heat the olive oil in the skillet or dutch oven until it is hot. Add the chicken and sear it on each side for about 3 minutes.
Move the chicken to the sides of the pan and add the chopped onions and garlic. Saute for about two minutes.
Add the tomatillos, the charred jalapeno pepper, the cilantro and the water.
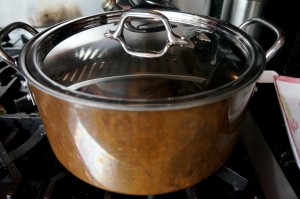
Bring to a boil and then cover with a lid.
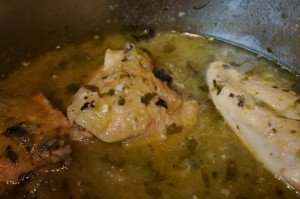
Reduce the heat to a simmer and cook for another 35 minutes, until the chicken is cooked throughout. (The dark meat chicken should be very tender by this time. The white meat won’t be as tender but will be cooked throughout.) Add the lime juice and cook for another five minutes to combine the flavors. Taste for salt and adjust accordingly. Turn off the heat and let the dish rest for at least 10 minutes. (At this point, I like to take the chicken off the bone or shred it and then add it back to the sauce, but that is optional.)
Meanwhile, heat the water for the rice in a medium saucepan. Add the salt and the rice. Cover and bring to a boil. Reduce the heat and let simmer until the rice is done, about 20 minutes.
Brown the coconut in a small dry skillet over low heat. Keep watching and stirring as the coconut can easily burn. When the coconut is light brown throughout, turn off the heat and stir for another minute.
Add the butter to the rice and stir lightly with a fork until the butter has melted. Add the browned coconut and stir lightly to combine. Taste for salt and adjust accordingly.
To serve, place the rice in an individual serving dish. Top with the chicken and the tomatillo sauce. Garnish with additional cilantro, if desired.
Serves 4-6.

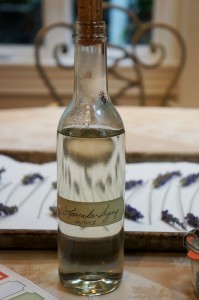
Lavender grows year-round in our garden. I use it to make this simple syrup and I preserve it in sugar and in salt. I use it in shortbreads, in scones, in ice cream. It is a favorite of ours to flavor both sweet and savory dishes. I find that this simple syrup has many uses – from flavoring sparkling water and wine to adding a touch of fragrance to whipped cream and custards.
When using lavender for cooking, make sure that it is organically-grown lavender which has had no chemical pesticides or fertilizers used on it.
I have found that the green parts of the lavender can have a slightly bitter taste so I like to use only the flowers in my dishes. You can use either fresh or dried lavender flowers or buds to make this simple syrup. I prefer dried lavender for two reasons . (1) The flowers/buds are much easier to remove from the sprig when dried and (2) the flavor is much more concentrated when dried. You need 3 times more fresh lavender than dried lavender for an equivalent flavor.
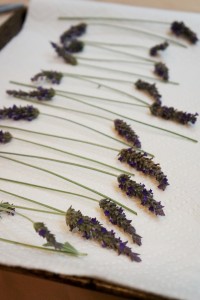
To dry the lavender, place a double-thickness of paper towels down on a baking sheet. Spread the fresh lavender out on top of the paper towels so that there is a little space between each sprig. Place the baking sheet in a dry, airy place and let the lavender dry for 3-4 days at room temperature. I typically put it on my dining room table away from direct sunlight.
When the lavender has dried, simply rub it between your fingers to remove the flowers/buds. The buds will keep in an airtight jar for at least a year.
To make the simple syrup:
Ingredients
1 cup water
1 cup sugar
2 Tablespoons dried lavender flowers/buds (3 times more if using fresh lavender)
You will also need:
Small saucepan with lid
Large spoon
Strainer
Funnel
Bottle with airtight seal
Instructions
Pour the water into a small sauce pan. Add the sugar and stir to combine. Cook over medium-high heat until the water just starts to boil and the sugar has dissolved.
Turn off the heat and add the lavender.
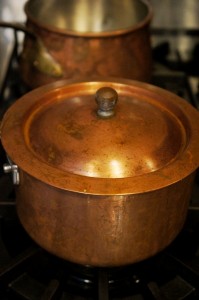
Cover and let the lavender infuse into the syrup for about a half hour. This should give you a syrup that has a good lavender flavor without being overpowering.
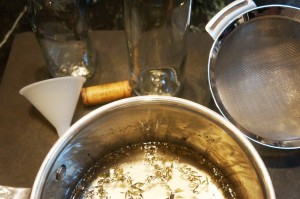
Strain the lavender out of the syrup and discard.
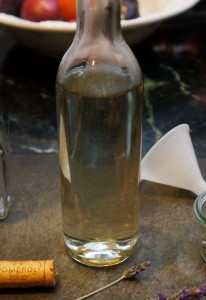
Bottle the lavender and cap it, making it as airtight as possible.
Label the lavender syrup (and start drying a new batch of lavender for other uses!).
Store in the refrigerator for up to a month.
Yield: 12 ounces of lavender syrup.

