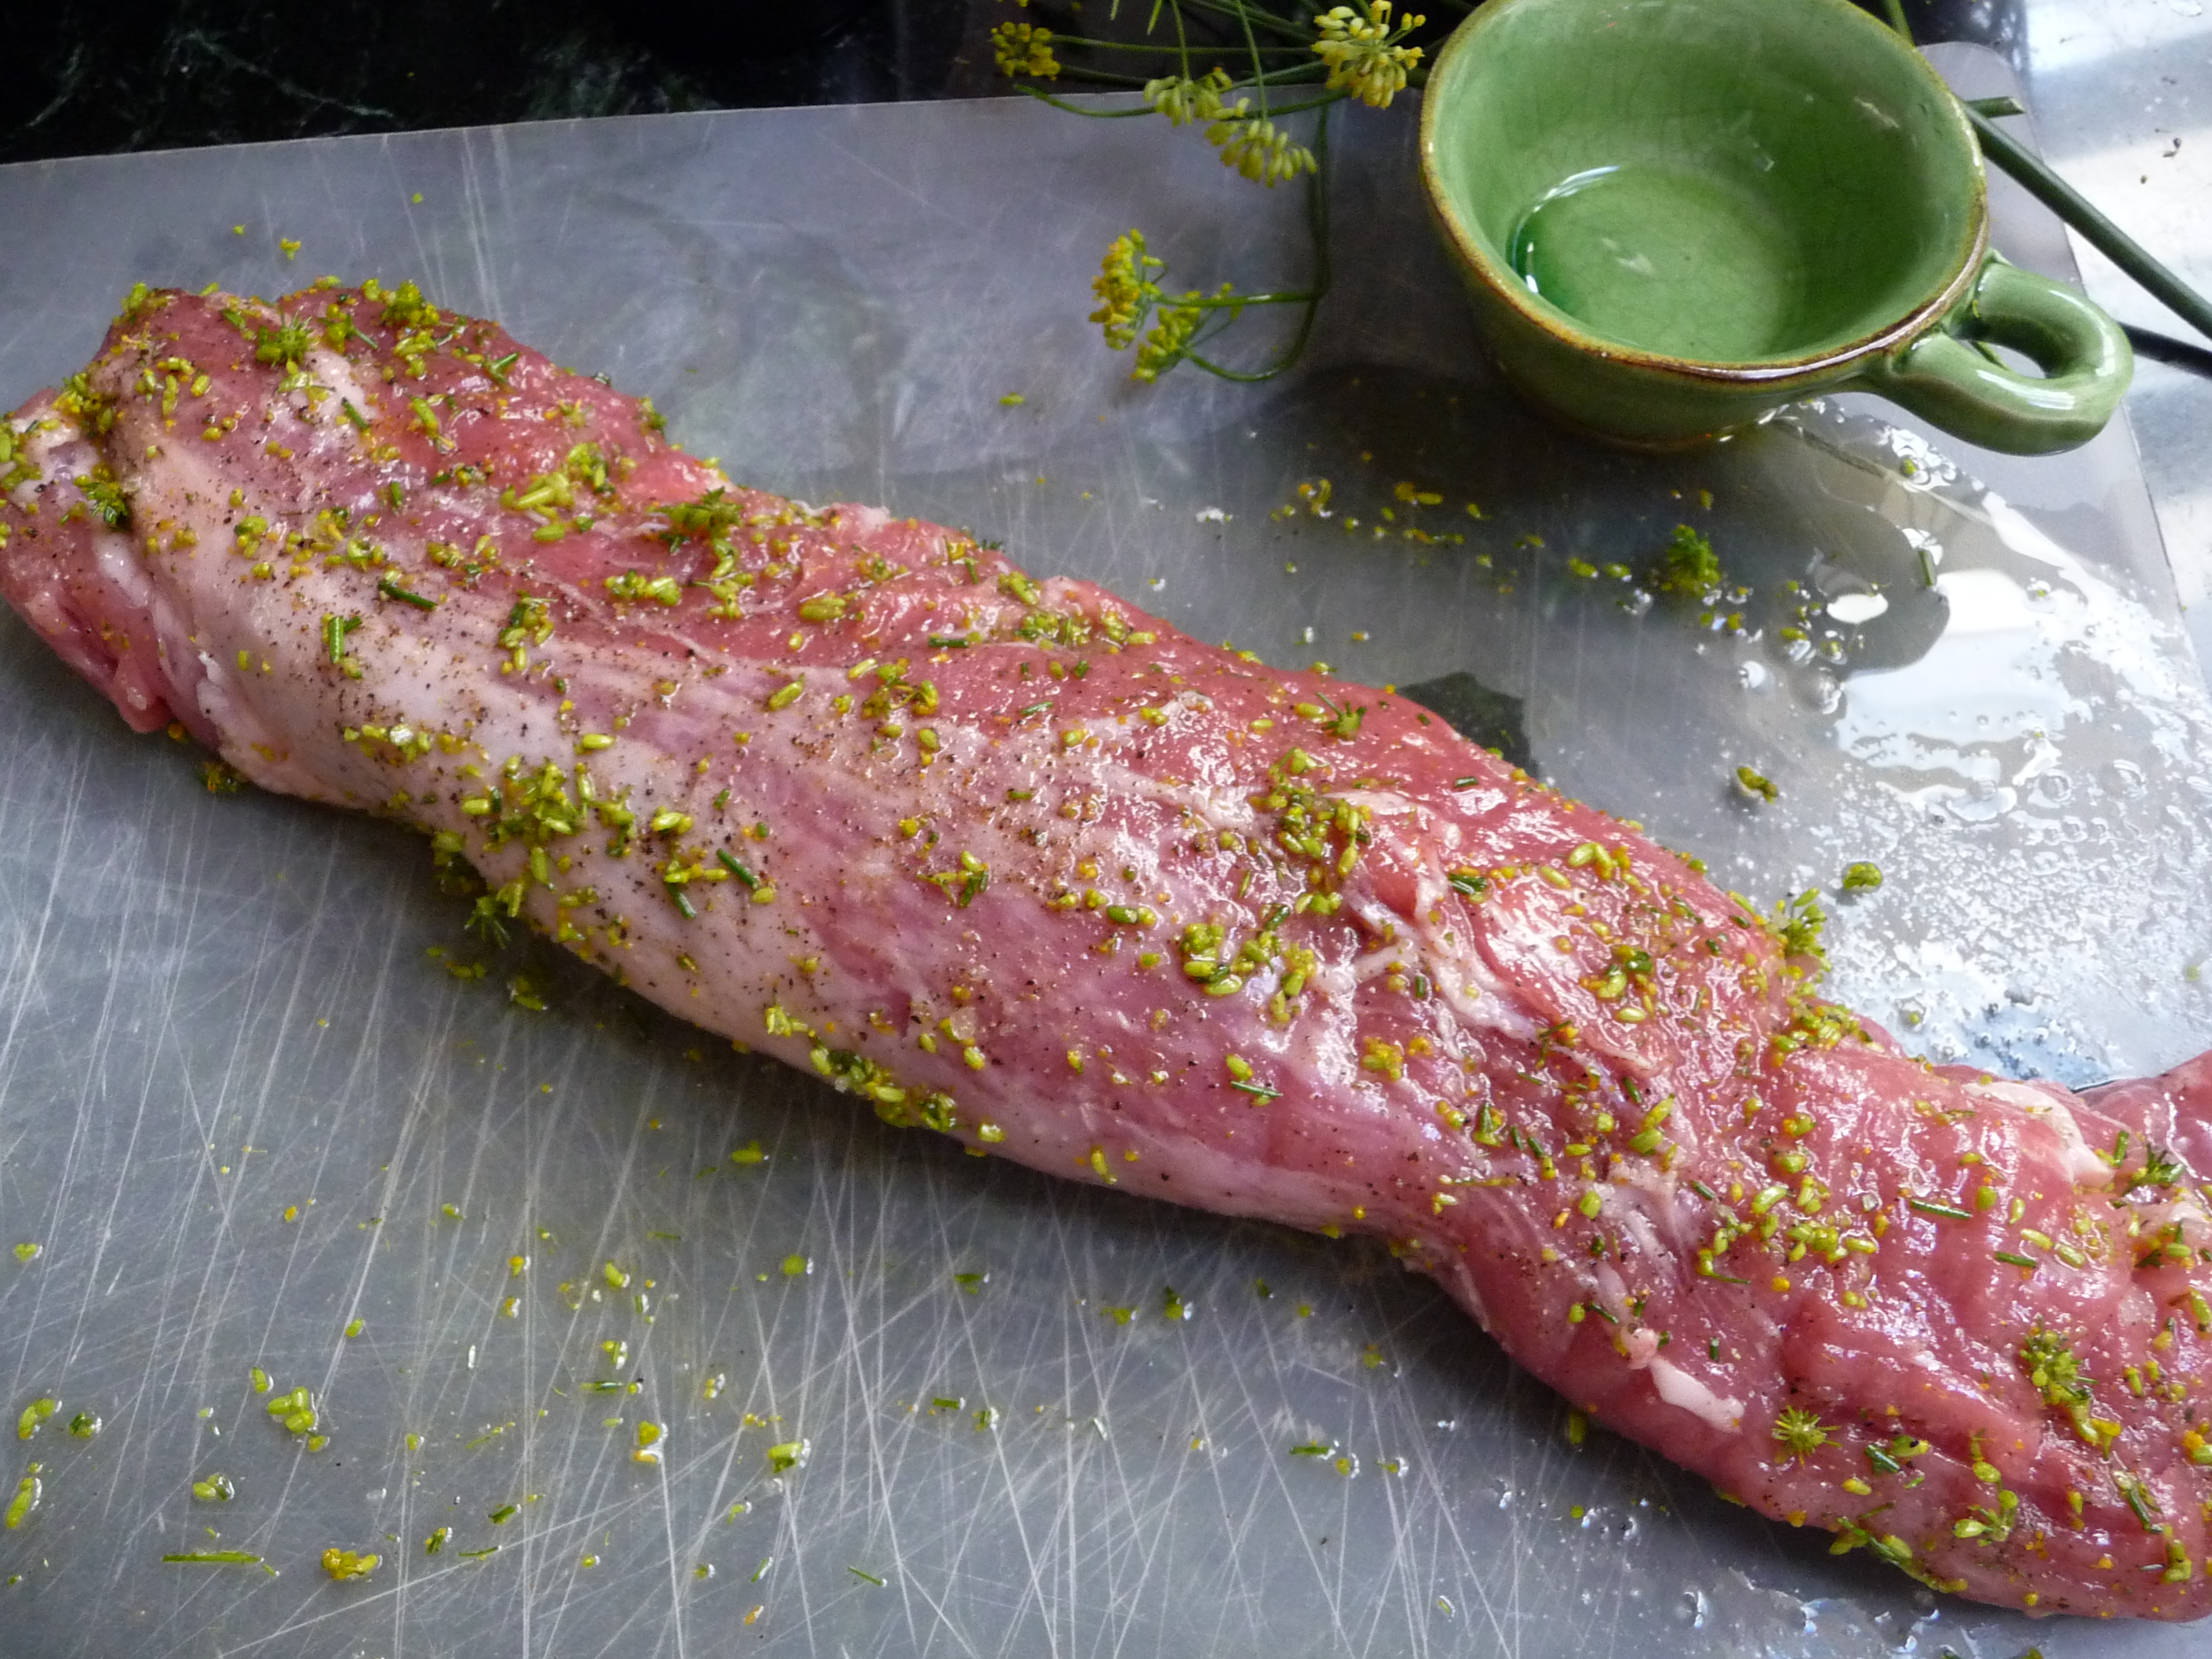
Fennel flowers have a very pleasant spicy, licorice flavor. I harvested some from my garden to use with a pork tenderloin roast and vegetables. The flowers make a gorgeous garnish to serve with the dish, as well. I used potatoes, carrots and onions as my vegetables, but you can use whatever is fresh and seasonal in this dish.


Ingredients
1 large pork tenderloin roast (about 1 pound)
Olive oil
4 teaspoons chopped fennel flowers or fennel pollen – available in Italian food stores or in upscale spice markets)
Coarse grey sea salt
Freshly cracked pepper
2 large Yukon gold potatoes, washed and cut into 1″ pieces
1 large red onion, peeled and cut into chunks
1 large carrot, peeled and cut into chunks
Whole fennel flowers and fennel weed for garnish (optional)
You will also need:
Cutting board
Chef’s knife
Large baking dish
Instructions
Preheat the oven to 425 degrees Fahrenheit.
Rub the roast generously with olive oil and then with two teaspoonfuls of chopped fennel flowers. Sprinkle generously with sea salt and pepper.


Place the cut-up potatoes, onions and carrots into the bottom of a large baking dish. Drizzle them with olive oil and toss to coat. Sprinkle with sea salt, pepper and about 2 teaspoonfuls of chopped fennel flowers.

Push the vegetables to the sides of the dish to make room for the pork in the center. Place the prepared pork roast in the center of the dish with the vegetables on each side.


Place into a 425 degrees Fahrenheit oven. After about 20 minutes, open the oven and stir the vegetables. Return the pan to the oven and cook for another 25-30 minutes, until the meat registers at least 165 degrees Fahrenheit on a meat thermometer. Remove the pan from the oven and let the meat rest for at least 15 minutes before slicing it.
Garnish with whole fennel flowers and fennel weed, if desired. Serve the meat with the vegetables on the side.
Serves 2-3.
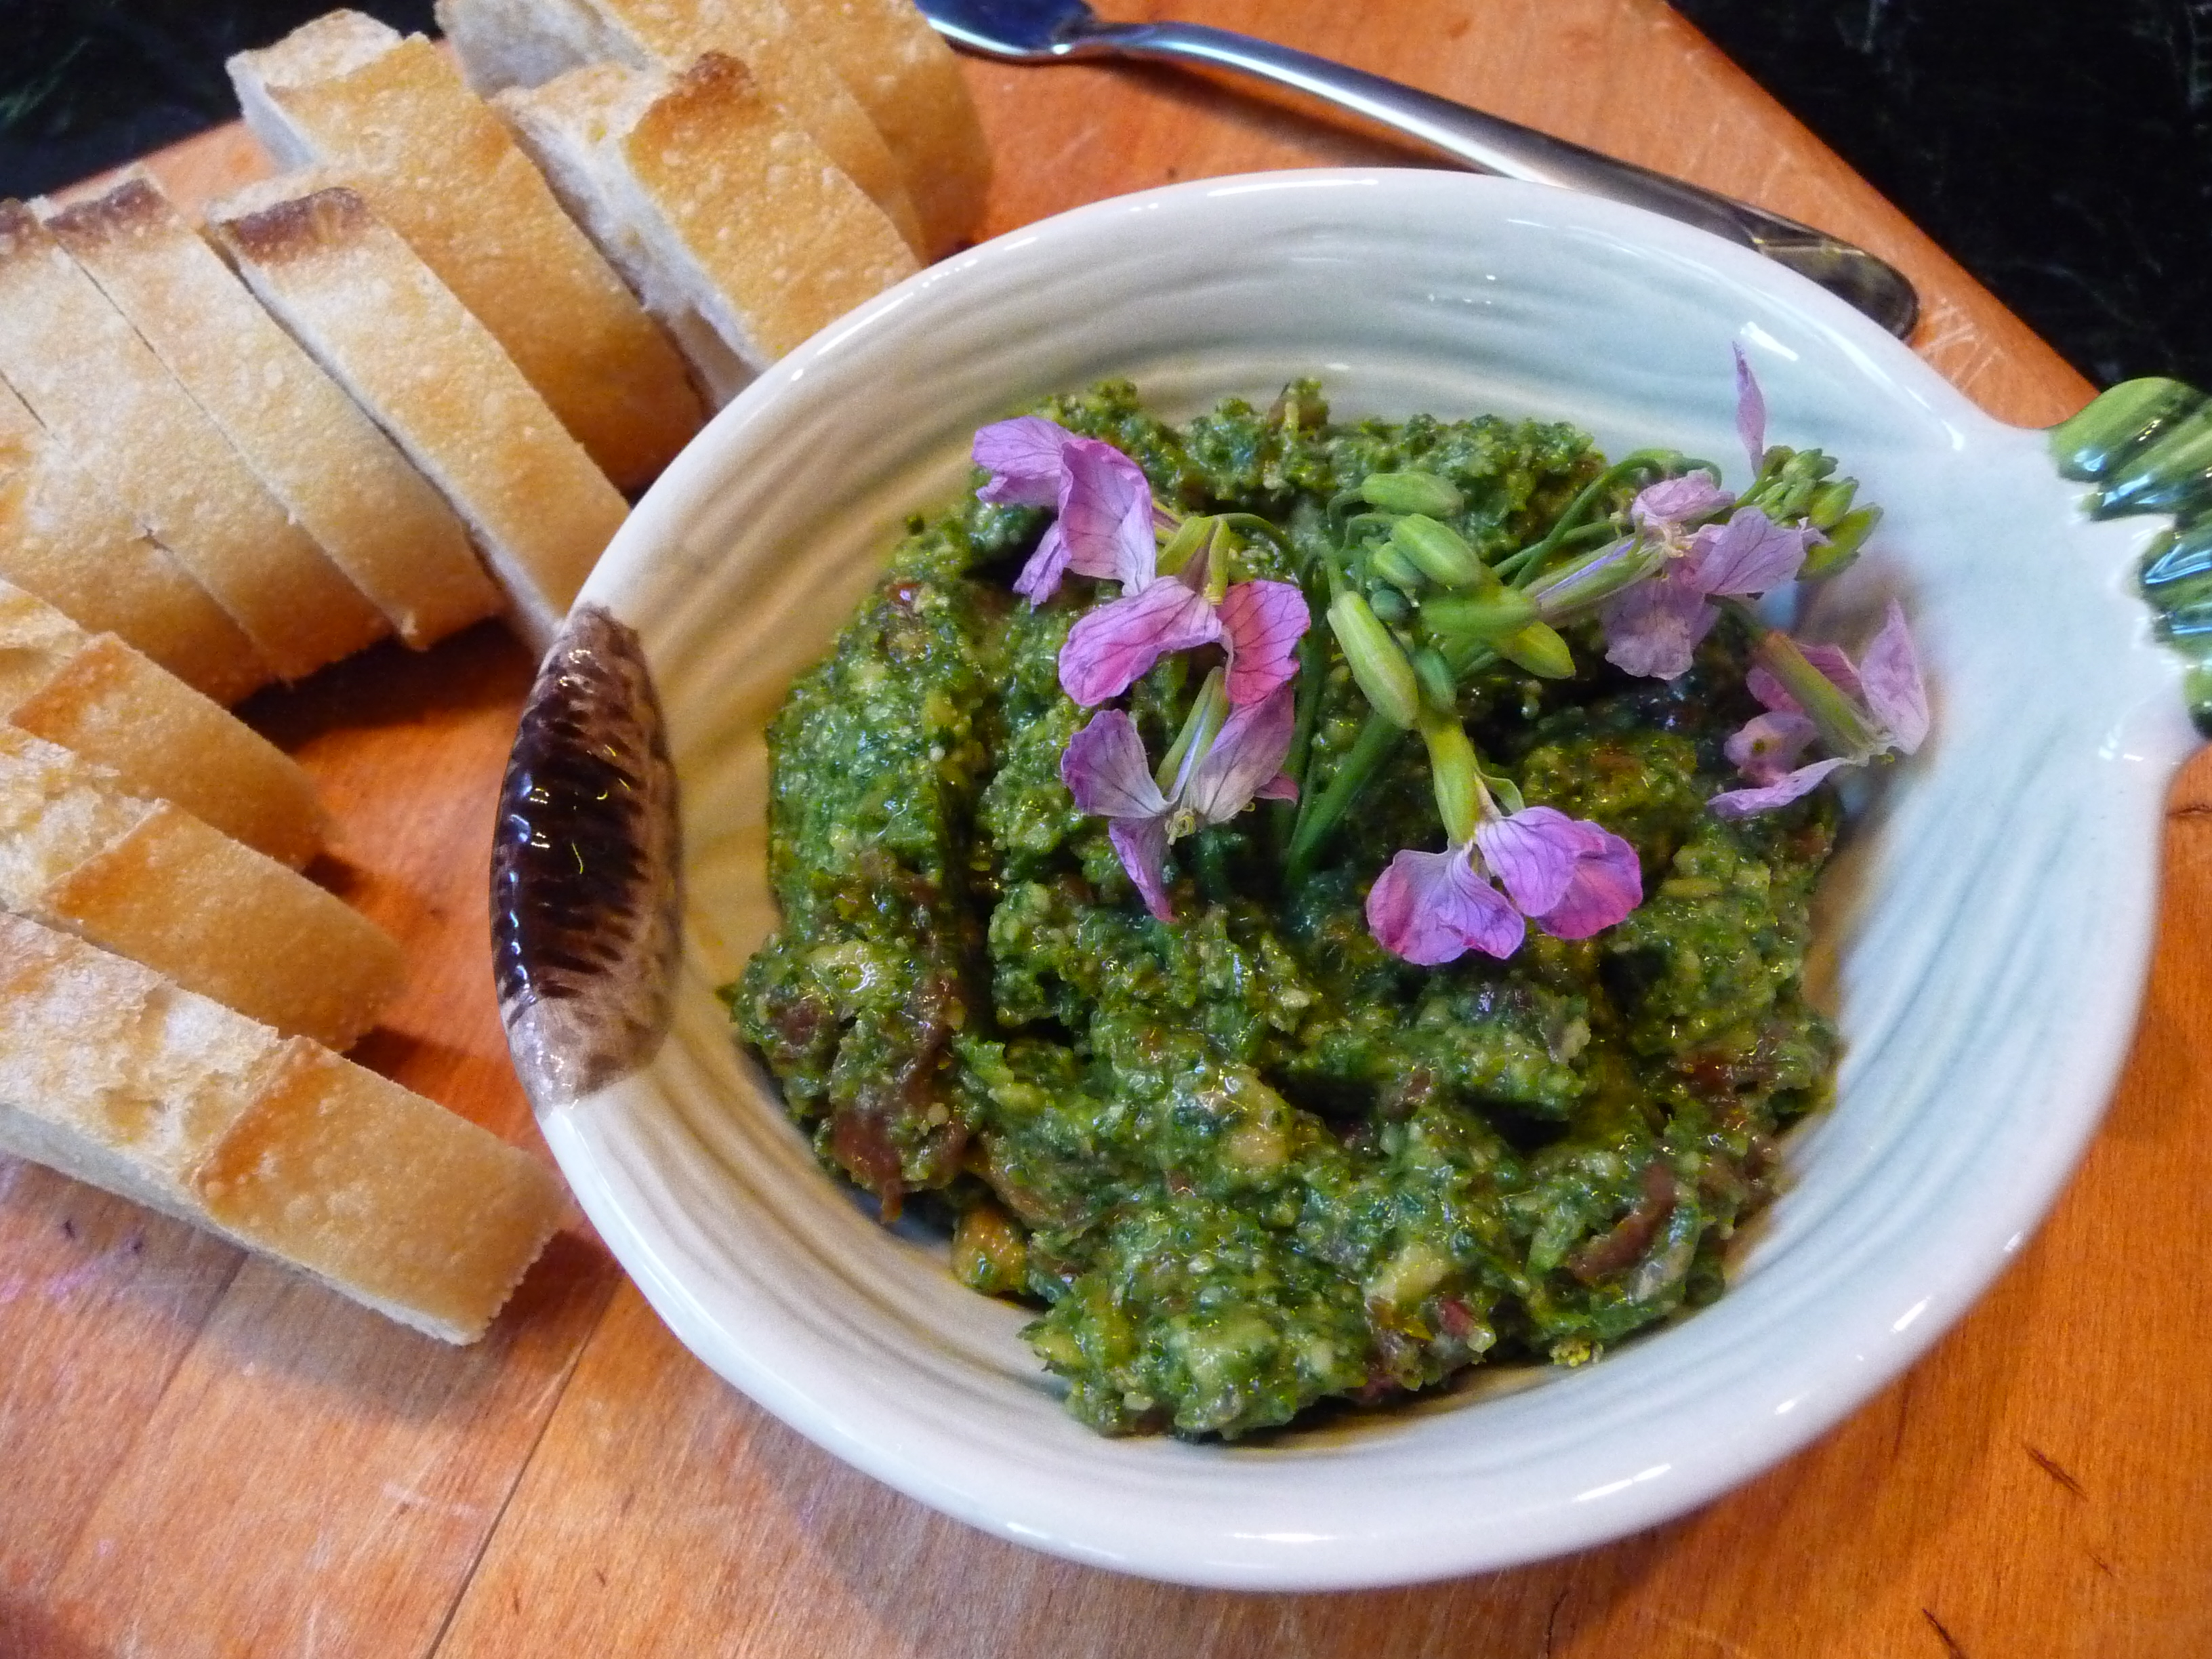
Marin Roots Farm brought baby radishes and radish flowers to the market this week. They were exceptionally fresh and flavorful. So flavorful, in fact, that I didn’t want to waste one single bite of the roots or of the greens. Making pesto from the leaves is one of my favorite ways to showcase the spicy green tops. This pesto is delicious when served as a topping for bread or with pasta.

Ingredients
2 handsful of radish greens, washed and patted dry
1/4 cup radish flowers (optional)
1 clove garlic, minced
1/3 cup chopped roasted almonds
1/3 cup freshly-grated parmigiano regianno cheese
1/4 cup rehydrated sundried tomatoes, diced (optional)
Extra-virgin olive oil
Sea salt
Freshly-cracked black pepper
You will also need:
Food processor with bottom blade attached
Instructions
Drop the radish leaves and flowers into the food processor and process for a few seconds until finely chopped.

Add the minced garlic, the almonds, the cheese and the diced sundried tomatoes, if using them. Process for a few seconds until everything is well-combined. Drizzle in enough olive oil to make a nice paste. Season with sea salt and pepper to taste. Serve as an appetizer with sliced bread or with pasta.

I like to serve the baby radishes themselves with a dish of fleur-de-sel (sea salt) for dipping.

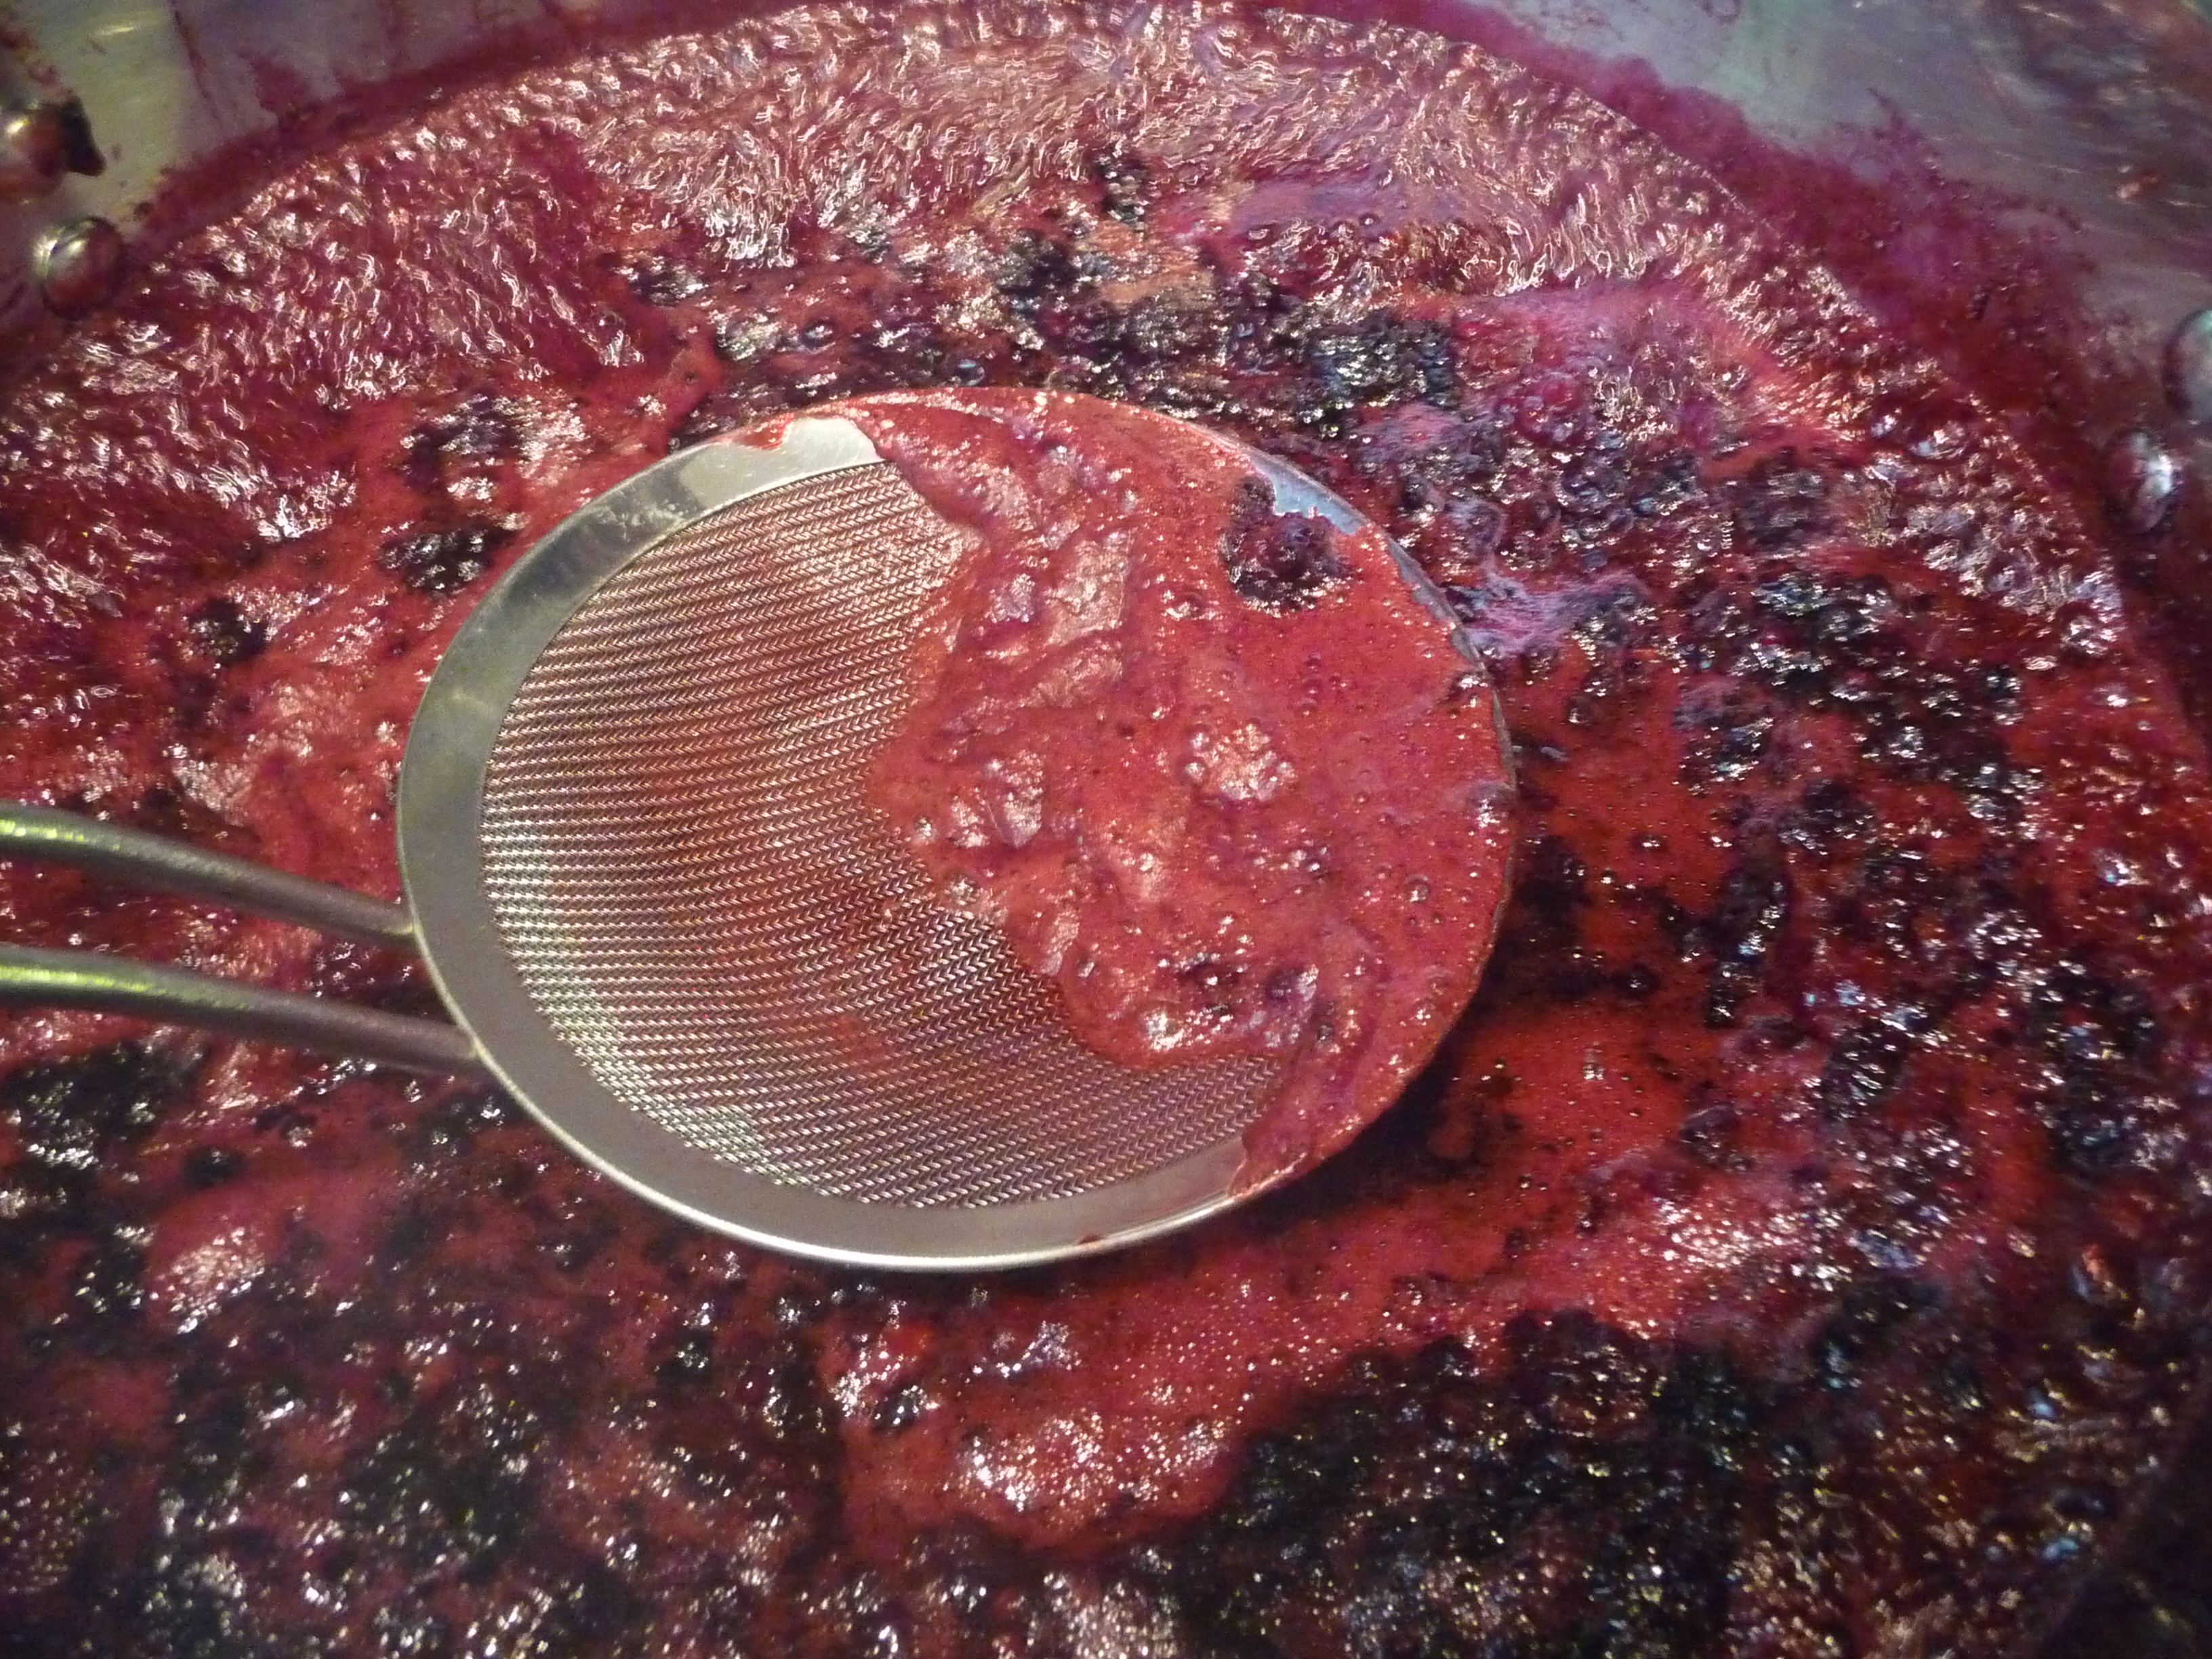
Blackberries are in season now and are available locally in our Northern California farmers markets. Making jam is a great way to preserve blackberries so that you can enjoy them all year long. I don’t use pectin in my jam so I can really cut down on the amount of sugar needed. I simply use a 3:1 ratio of fruit to natural raw sugar. (Pectin is extremely tart and you need about a 1:1 or even 1:2 ratio of fruit to sugar when using it!)
Ingredients
9 cups very ripe blackberries
3 cups natural, raw sugar (white sugar can be substituted, if desired)
You will also need:
Large pot
Large spoon
Skimmer
Large saute pan
Six very clean 8 oz. jars with new, clean lids and rings
Super large canning pot
Jar tongs
Kitchen towel
Damp paper towel
Instructions
Place the blackberries and sugar in a large Dutch-oven-sized pot.

Stir to combine.

Bring to a boil over medium-high heat. Reduce the heat to medium and let cook, stirring occasionally and skimming as needed, for about an hour or until the juices are reduced and the mixture has thickened. You can test this by taking some out of the pot and letting it cool.

Meanwhile, prepare your jars. Make sure they are very clean. I like to take them directly from the hot dishwasher. Place about 2 cups of water into a large saute pan and bring to a boil. Place the jars, bottom side up, into the skillet. Reduce the heat and simmer with the jars in there for about 10 minutes. Keep hot.

When the jam has finished cooking, ladle it while still hot into the hot jars (careful – these jars are HOT), leaving only about 1/4″ of space at the top of the jar. Wipe the rim of the jar with a damp paper towel.

Note that it is important to seal each jar before starting on the next one. Before putting the lid onto each jar, drop the lid into the boiling water in the saute pan for 30 seconds.

Remove the lid from the water and place it on top of the hot jar with the jam. Put the ring on and twist tightly to seal. Repeat with each jar until all of the jam is in the jars. If you have a little bit of jam left over, then put it into a dish, cover it with plastic wrap and have it for breakfast the next morning.

Meanwhile, prepare your water bath by heating enough water in the super large pot to cover your jars. (Don’t put the jars in yet.) Bring the water to a boil. Carefully drop the sealed jars into the boiling water, reduce the heat to a medium-low boil, and cook the jars of jam for 10 minutes. Turn off the heat and leave the jars in the water to cool for half an hour.

Remove the jars from the water, dry them off and store them on the countertop. Check them a little later to make sure that the lids have sealed. If so, store them in a cool, dry place. If not, then put them into the refrigerator and use within two weeks. You can also freeze them for later use.

Yield: approx. six 8-oz. jars.

Blueberries are in season right now in our local Bay Area farmers markets. In addition to tasting great, I’ve read that blueberries may actually reduce the effects of age-related conditions such as alzheimers and dementia. Also, according to blueberrycouncil.org, blueberries contain high levels of antioxidants that help fight cancer and heart disease.
Some of the best blueberries that I’ve found in the local markets are grown in the San Joaquin Valley at Sorensen’s Triple Delight Blueberry Farm. You can find Triple Delight Blueberries in a number of Bay Area farmers markets, including San Francisco Ferry Plaza Farmers Market and Marin Farmers market.
Blueberries have a very short season – about six weeks here – so I go a little overboard with them. Luckily, blueberries can be stored for a few days in a covered container in the refrigerator. But don’t wash them before storing them, as this can cause them to mold more quickly. Blueberries freeze pretty well, too. The frozen ones are a real treat when the fresh ones are gone for the season.
Oh, and I forgot to mention that one cup of blueberries has only 80 calories. So eat them without any guilt.

One of my favorite ways to enjoy blueberries is to mix them with Greek-style yogurt and homemade granola, then drizzle them with a little local honey. This treat is great for breakfast, a mid-afternoon snack, or for dessert.
As I mentioned, the season for blueberries is short, though – get plenty of them while you can!