
Blackberries are in season now and are available locally in our Northern California farmers markets. Making jam is a great way to preserve blackberries so that you can enjoy them all year long. I don’t use pectin in my jam so I can really cut down on the amount of sugar needed. I simply use a 3:1 ratio of fruit to natural raw sugar. (Pectin is extremely tart and you need about a 1:1 or even 1:2 ratio of fruit to sugar when using it!)
Ingredients
9 cups very ripe blackberries
3 cups natural, raw sugar (white sugar can be substituted, if desired)
You will also need:
Large pot
Large spoon
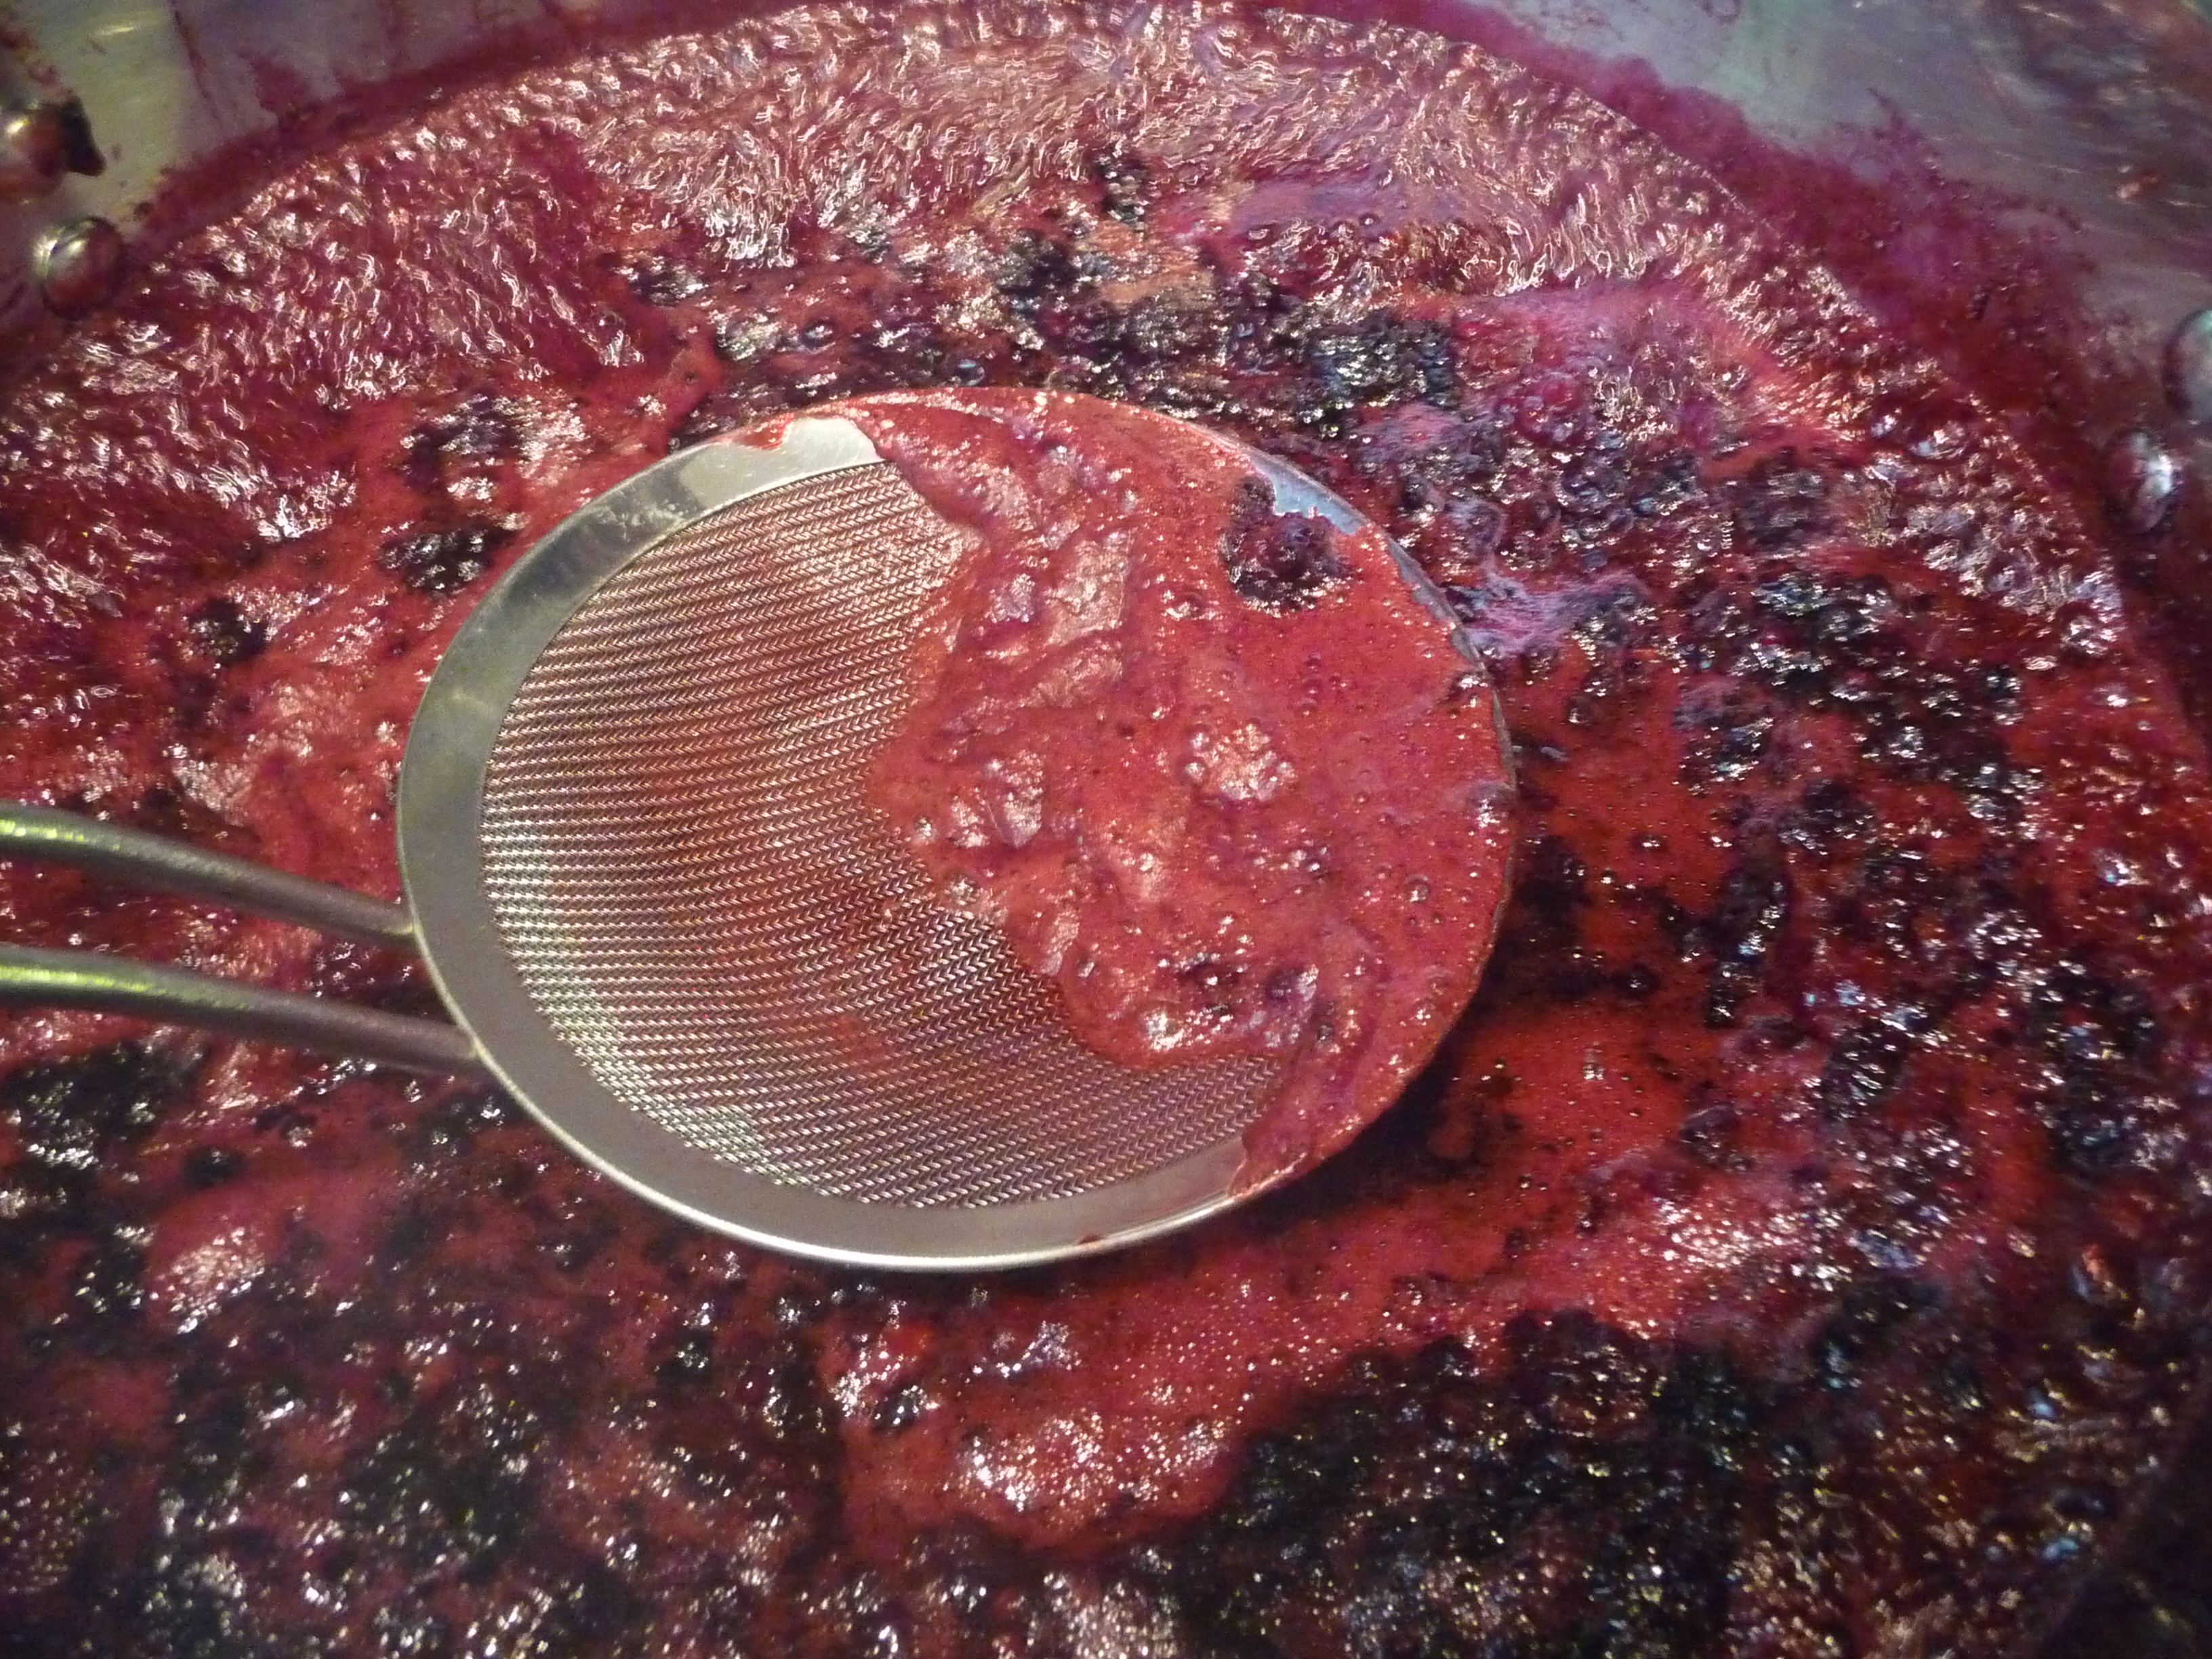
Skimmer
Large saute pan
Six very clean 8 oz. jars with new, clean lids and rings
Super large canning pot
Jar tongs
Kitchen towel
Damp paper towel
Instructions
Place the blackberries and sugar in a large Dutch-oven-sized pot.

Stir to combine.

Bring to a boil over medium-high heat. Reduce the heat to medium and let cook, stirring occasionally and skimming as needed, for about an hour or until the juices are reduced and the mixture has thickened. You can test this by taking some out of the pot and letting it cool.

Meanwhile, prepare your jars. Make sure they are very clean. I like to take them directly from the hot dishwasher. Place about 2 cups of water into a large saute pan and bring to a boil. Place the jars, bottom side up, into the skillet. Reduce the heat and simmer with the jars in there for about 10 minutes. Keep hot.

When the jam has finished cooking, ladle it while still hot into the hot jars (careful – these jars are HOT), leaving only about 1/4″ of space at the top of the jar. Wipe the rim of the jar with a damp paper towel.

Note that it is important to seal each jar before starting on the next one. Before putting the lid onto each jar, drop the lid into the boiling water in the saute pan for 30 seconds.

Remove the lid from the water and place it on top of the hot jar with the jam. Put the ring on and twist tightly to seal. Repeat with each jar until all of the jam is in the jars. If you have a little bit of jam left over, then put it into a dish, cover it with plastic wrap and have it for breakfast the next morning.

Meanwhile, prepare your water bath by heating enough water in the super large pot to cover your jars. (Don’t put the jars in yet.) Bring the water to a boil. Carefully drop the sealed jars into the boiling water, reduce the heat to a medium-low boil, and cook the jars of jam for 10 minutes. Turn off the heat and leave the jars in the water to cool for half an hour.

Remove the jars from the water, dry them off and store them on the countertop. Check them a little later to make sure that the lids have sealed. If so, store them in a cool, dry place. If not, then put them into the refrigerator and use within two weeks. You can also freeze them for later use.

Yield: approx. six 8-oz. jars.
Let me know when you want to make jam. We can do it here or at your house!
Reading through this post, it makes me realize that jam making requires some practice. I like that you don’t use pectin, the 3:1 ratio of fruit to sugar likely results in a much better jam.
Hi Christine, making the jam is pretty easy. Canning it is a little more tricky but become very simple after you’ve done it a couple of times. Thanks so much for the comment!


YEAH! I think I can do this, and I will definitely give it a try! Blackberries are the household favorite ~ the lil’ crumb eats them until her tummy hurts!
Welcome back…. 🙂